


These trees on the left we gave them texture by making a darker color with burnt sienna, blue and a touch of purple (remember, if it is in shadow, it needs blue and purple to make it look like a shadow), then using the edge of my 1/4" flat, angle brush I made a series of marks on the tree trunks to create the texture of the bark. You MUST remember to leave some of the previous color as you do this, that previous color becomes the highlights to the shadows you are putting in. Watercolor is light to dark so you must remember to save your highlights.

First you want to fill the bristles to the metal ferrule by wiggling it around in the ink-like paint. As you lift off your palette, roll the brush in your fingers so it comes to a point. Hold the brush at the very end and slightly down so the paint will flow from the bristles. If you press the bristles to the paper it will leave a fatter mark, as you drag your brush across your paper gradually lift it up to the tip of the brush until it lifts off. You should have created a line that starts thick and tapers to nothing, that is your first branch. To create branches, and if you loaded your brush correctly you should still have paint for several branches, start back in the fatter part of the branch you just painted and as you pull and lift, go off in a different direction. Yes, I make it look easy because I have been doing this for decades but I also did a lot of practice when I was learning how to use this brush and I watched others use this brush, it will come IF you take the time to practice.

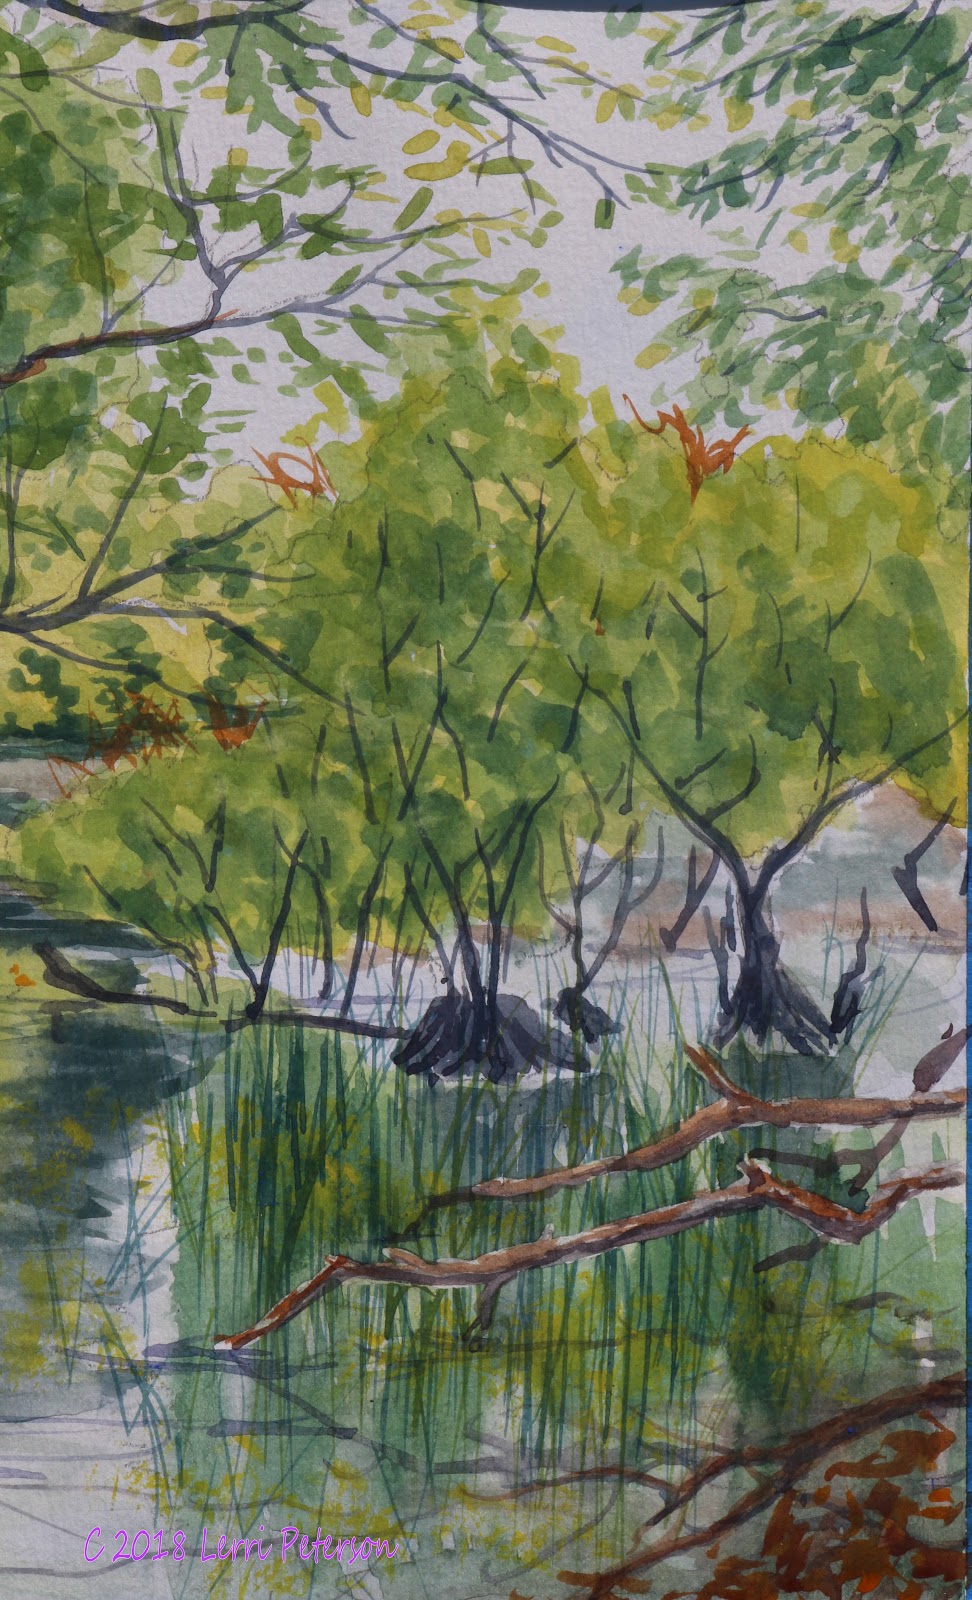
Once that area was dry, I finished the branches and added another in the corner and the suggestion of dead leaves as well.
I also took some of the dark green from the leaves to suggest reflections from the branches.


P.S. I did a wash over the entire painting with a color called Quinacridone Gold, several manufactures have their version of this color, it looks like burnt umber when you put it out but add a bit of water and it is a beautiful golden color. I will sometimes do a wash over a painting to warm it up, you don't have to but just wanted to show you some options.

So until next time, keep painting and I will see you in class.
No comments:
Post a Comment