Summer 2018 Watercolor Class
Watercolor Project: Marsh Madness Week 3
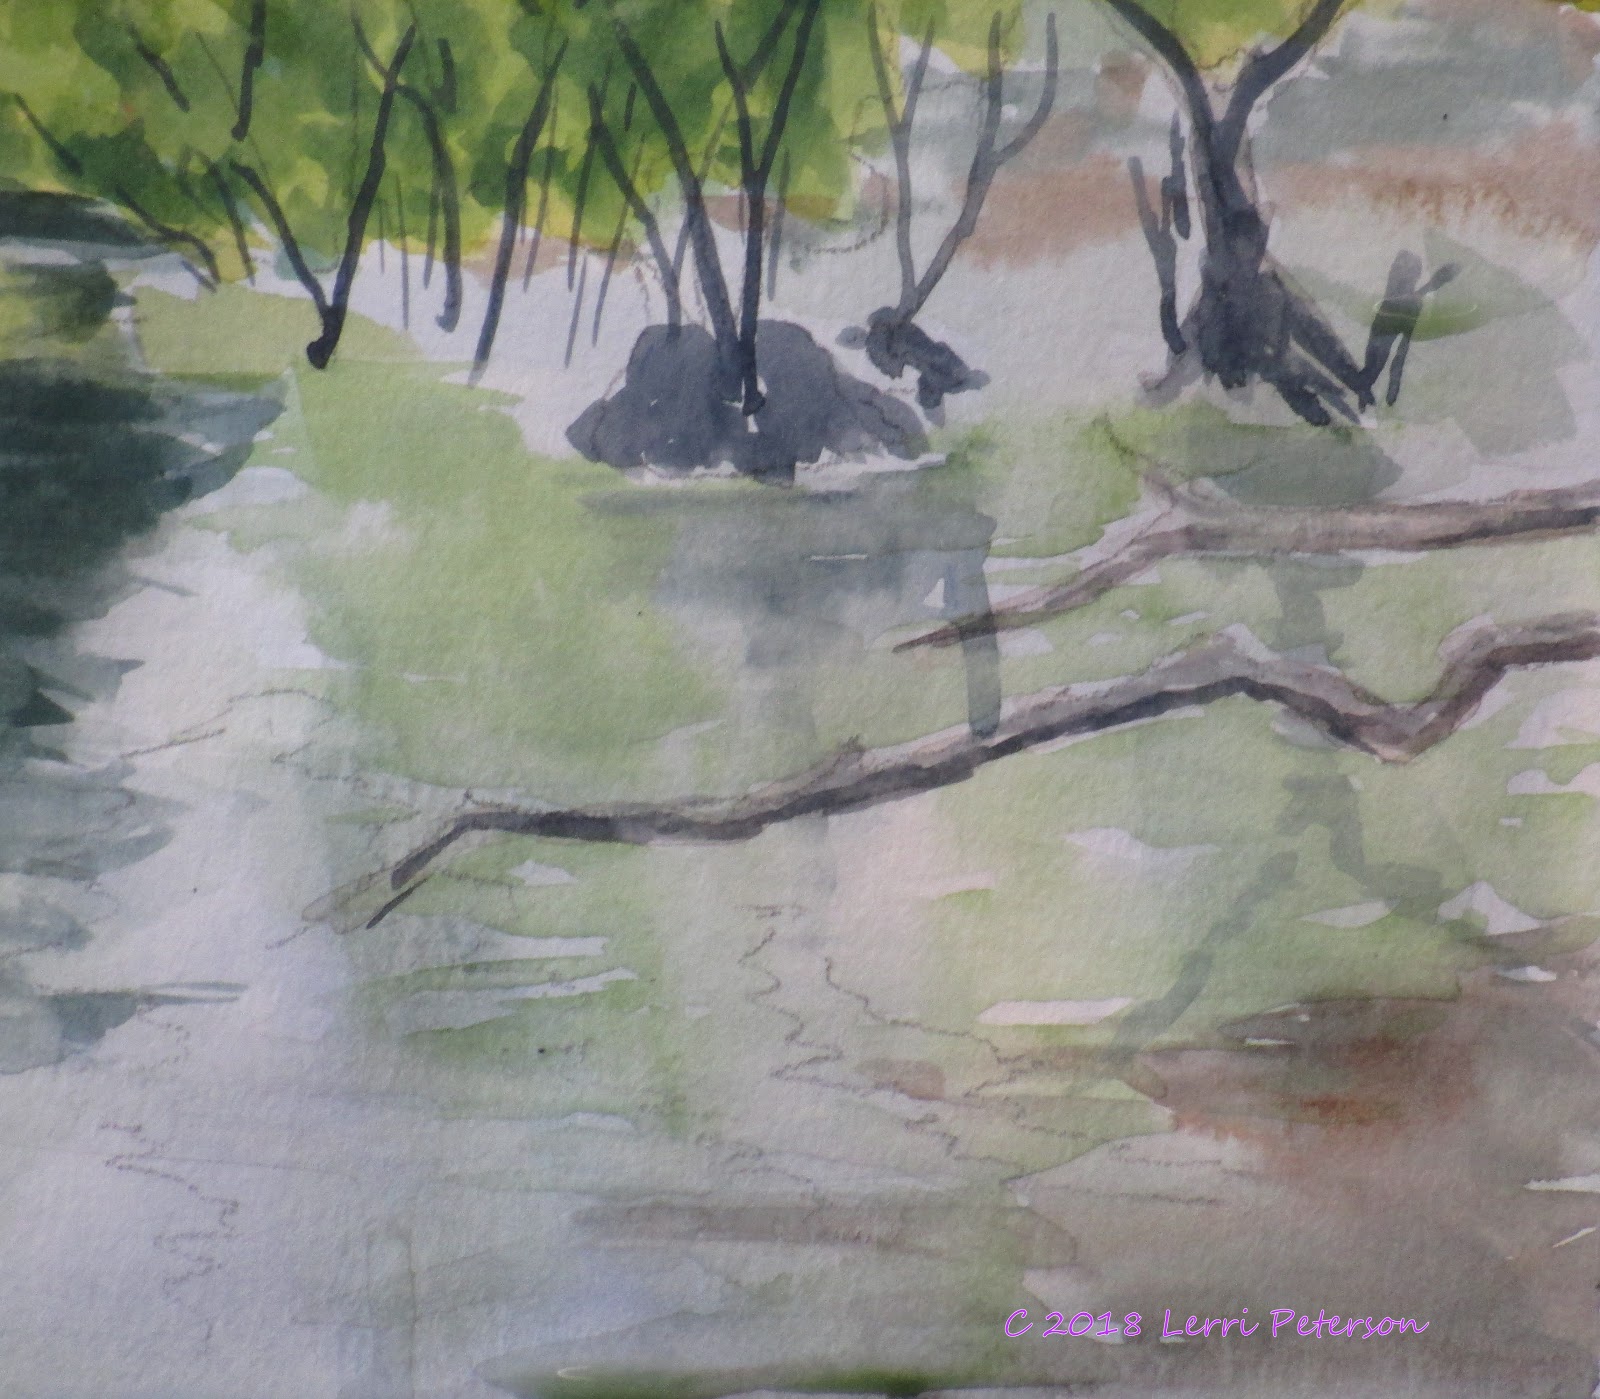
This week I got into more of the detail adding the darker trees on the left using a mix of burnt sienna and blue, just don't go for the final dark, remember we work from light to dark so this color will become highlights and texture. I also added more dark colors into the lower parts of the trees and the water. It gets very dark in these areas but you need to sneak up on the dark rather than going straight for it, if you do your colors will become muddy and lose the transparency of watercolor. Have the actual reference photo of the scene in front of you and refer to it often.
Notice how I keep most of the darker areas near the base of the trees? That is because there are a lot of leaves and branches blocking out the light so it is always a bit darker at the bottoms or under trees.
I also added some middle tone greens to suggest the leaves that get some light but aren't in the direct sunlight. Keep your greens purer by adding yellow to brighten them and blue to cool them, stay away from anything with red in it or it will gray your greens.
This clump of leaves falls into the mid tone range because they are not in direct sunlight, these are growing from the closer trees. Add yellow to the sap green and dab on irregular shaped clumps of leaves going over some of the twigs and branches you did last week.
I wanted to intensify the lighter green that is in the reflection of the background big tree, so I carefully wet the ENTIRE AREA with water, then touched the paper with my brush with a mix of yellow and sap green and let the paint do it's thing in the wet paper. Be sure to work on a bit of an angle so that gravity will work with you, not against you.
When that area was still a bit damp, I added yet more dark into the darker reflection.
I was also increasing the dark under the trees but remember to leave some of what was there before because that color becomes ripples in the water. You can wet the area if you want but it should only be damp so the paint doesn't travel too far from where you put is down. And always remember if you are painting water keep your strokes parallel to the top and bottom of your paper so you water will look flat.
On the right side under the bushes, I wet the paper all the way down then added some of the yellow/green for reflections of the leaves, just touch the paper and let the paint do it's magic and when I was a damp, I added the start of the reflections of the larger bases of the bushes. I did skip over the 2 horizontal branches come in from the right, I might add masking fluid to them because I do have more to do in that area before getting to those branches.
This is where I left off last class, I hope that you can get your own project close to this point so we can continue next class. We should be winding this up in the next week or two so keep painting and I will see you in class.


No comments:
Post a Comment