

Watercolor Plus - Learning Washes
Learning how to add layers of color by using thin layers of washes or glazes is very important to the watercolor artists, this is how we work. We build our paintings from the white paper to our darkest dark by adding several layers of washes. This is something you need to remember as a beginner because each layer of wash we lay down on our paper has an effect on the next layer we add on top of it. This is how we build value and intensify color and still keep the transparent quality of the watercolor.
In this exercise we gathered leaves to create a design then we laid down our first wash of many colors. First I wet the paper so that it was very wet, I want the colors to spread and bleed together, the water helps this process, this is called wet into wet painting (wet paper with wet paint).
Next I literally dropped different colors of paint onto my paper or just lightly touch the paper with my brush. the top of my paper was slightly elevated to that gravity could help me. When I got something I liked, I let it dry completely.
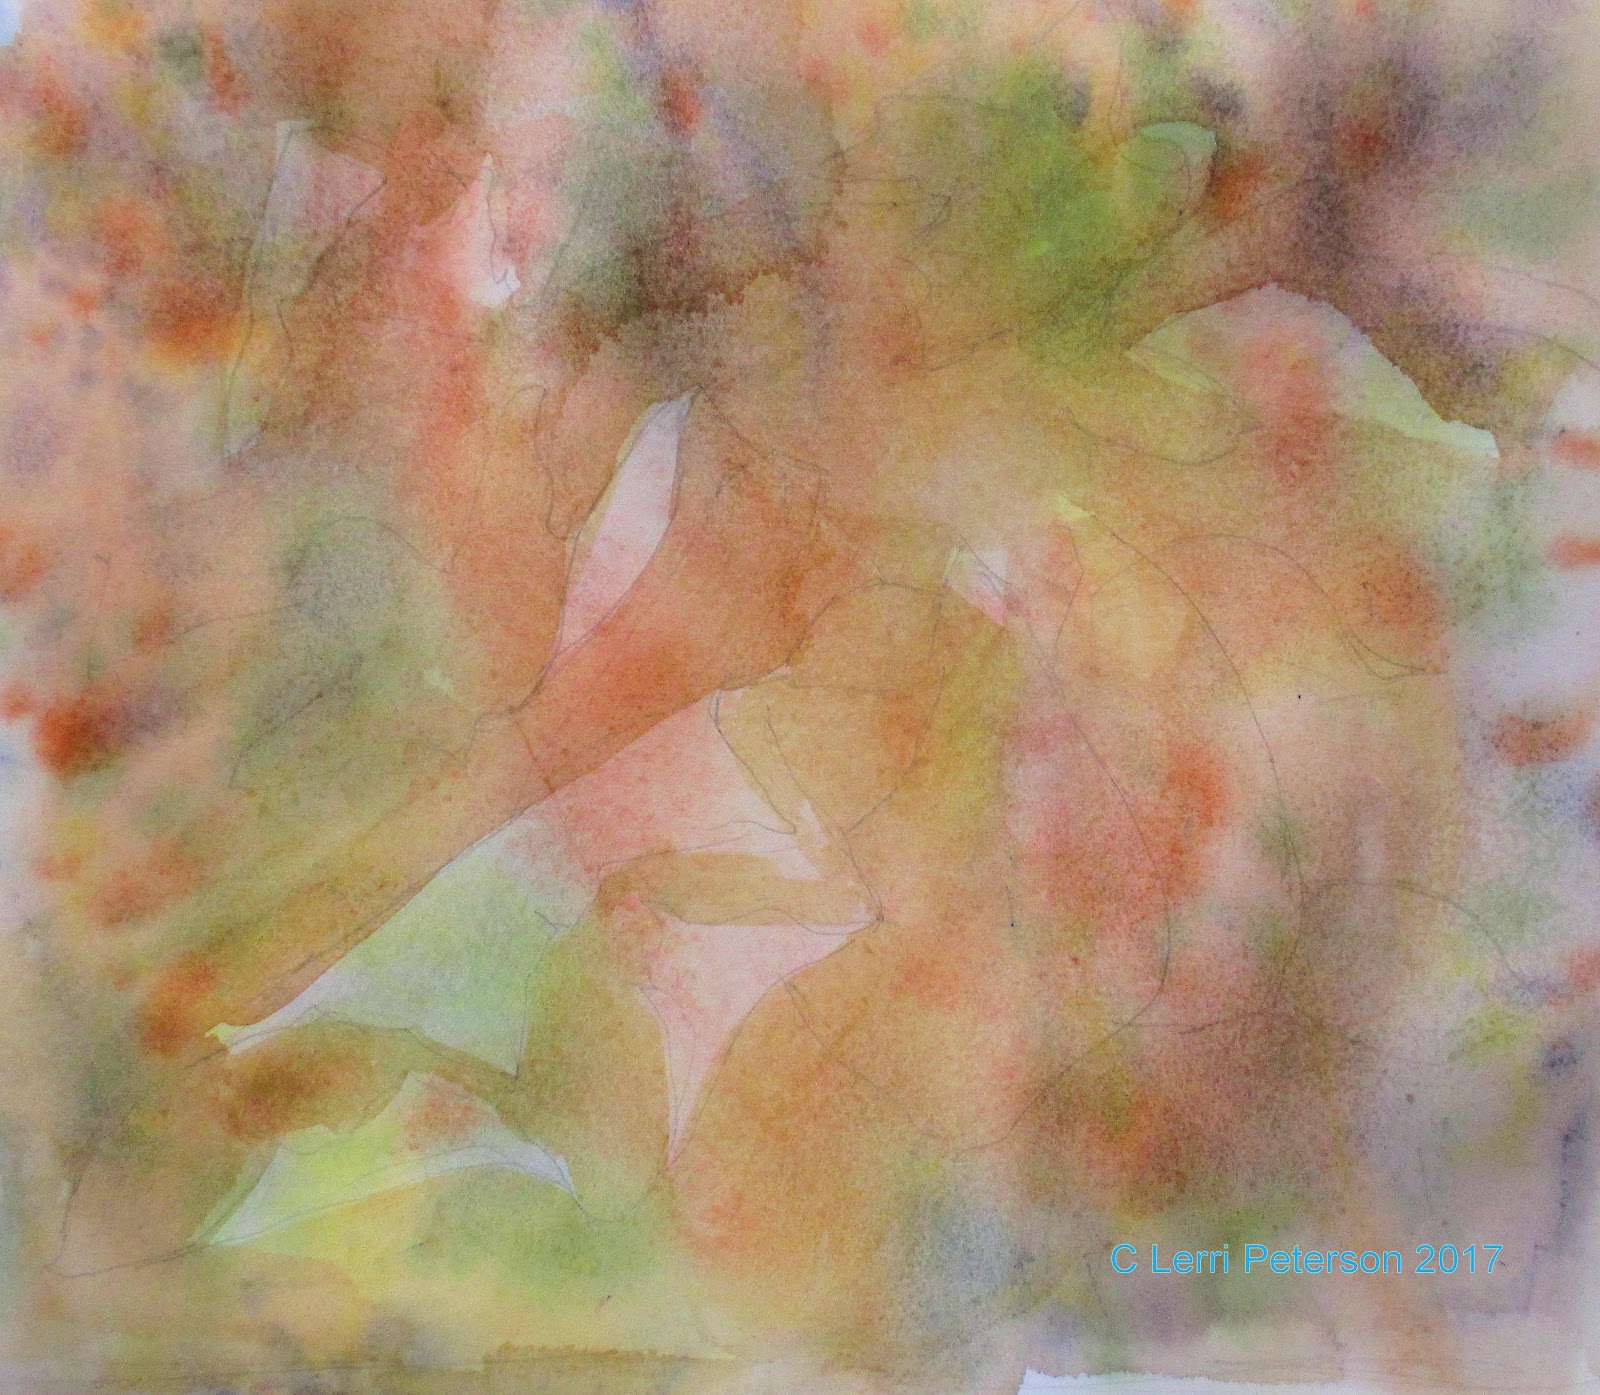
I mixed a thin wash of burnt sienna - though color is not important her but the thinness of the color is - and water and - this IS important - I painted EVERYTHING EXCEPT THE AREAS I WANTED TO STAY LIGHT. That includes all the leaves AND the back ground EVERYTHING. I was working wet paint onto dry paper.
Then I let it dry. This is also important other wise you will get blooms and muddy colors.


I chose the areas I wanted to leave unpainted with my second wash (2) then mixed a similar color of sienna with touches or orange. Again working on dry paper with wet paint.
The next was was the same consistency as the first, it was a very thin wash but because I am building up the color and the value with each wash, it looks darker.

This is where we ended for the day, we will continue on this in the next class so I hope that you have a chance to practice this and have your study to this point for class.
Don't get frustrated with yourself, watercolor is a challenging medium but it is also a very rewarding medium once you understand it. Be patient with the process and yourself, it will come.
A Fall Proposal Watercolor Project Week 2
We left off with our paper under painted and we have masked off the roses and the ring. This week we start adding in more color to the bouquet.

You can think about the general shape of the leaves but at this point you don't need to PAINT individual leaves just yet, just color and shape.
I got my colors a bit too dark so if yours are lighter than this you did better than I did.
BTW, I removed the masking from the roses at the end of the day when I was finished adding colors because after this point I will be a bit more careful in how I apply the paint. I did leave it on the ring area though.

I used my cad yellow light with just a little touch of orange for the petals and orange for the darker color.

The "flowers" of the hydrangea are just shapes that give the impression of flower petals only a couple actually look like flowers, the rest are just shapes. Let the viewer fill in the missing pieces with just a few clues.

Keep painting and I will see you in class.
No comments:
Post a Comment